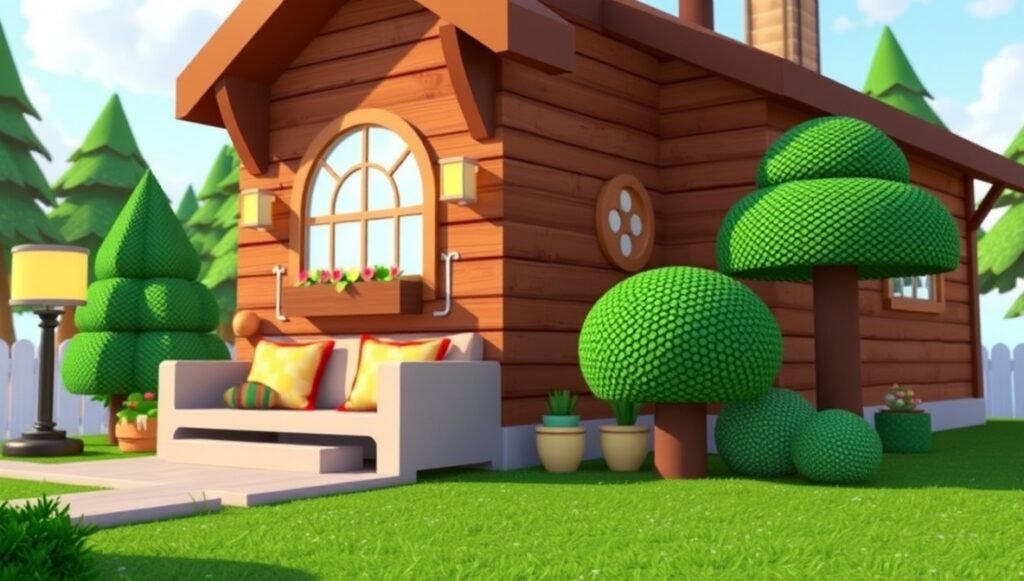
If you searched for homehearted roblox spruce up virtual home, you have probably seen a lot of pages telling you to “pick a theme” and “be creative.” That advice is true, but it doesn’t help you decide where the couch goes. This guide covers the decisions that change how a Roblox house looks: grid settings, color palettes, room layouts, lighting, budget limits, and the order in which to do things.
Roblox has many home-building games, and their editors differ. So this guide teaches principles that carry across games and tells you what to check in your own game, instead of pretending every editor works the same way.
What “Homehearted” Means, and What It Doesn’t
“Homehearted” is not an official Roblox feature, game, or setting. It is the name of a lifestyle blog that published a post built around this phrase. You will not find a “Homehearted” button inside any Roblox game.
When people type homehearted roblox spruce up virtual home into a search bar, what they usually want is simple: better-looking rooms in a Roblox house, ideally without wasting Robux or hours of work. That is what this page covers. heartomenal house guide from homehearted
Here is what you will get:
- A checklist for choosing a home-building game before you spend anything
- The build tools worth learning first
- Five style recipes with color codes
- Room-by-room layout rules
- A budget plan, a mistakes table, and a seven-day schedule
- Safety notes for teens and parents
Step 1: Choose the Right Game Before You Spend Anything
Most disappointment in Roblox home decorating comes from picking the wrong game. A game with a tiny plot, locked features, or no mobile support will limit you whatever your skill level.
Check these items before you buy anything:
| What to check | Why it matters | Where to look |
|---|---|---|
| Separate build mode | Lets you build without earning in-game money first | Game description, in-game menu |
| Plot size | A small plot caps how many rooms you can fit | Game page, community wiki |
| Paid features | Extra floors, basements and advanced placement are often behind gamepasses | Store tab on the game page |
| Custom images or audio | Decides whether you can personalize walls and frames | In-game settings, wiki |
| Mobile support | Placement controls can be harder on a phone | Game page, player reviews |
| Visitor permissions | Controls who can enter and who can move your furniture | House or privacy settings |
Spend your first hour using only the free tools. If you still want more space or features after that, you will know exactly which paid upgrade solves a real problem. Check prices on the game page itself, since they change.
Step 2: Learn the Build Tools First
Good-looking houses come mostly from precision. Four tools do most of the work in nearly every home editor.
Grid Size and Snapping
A large grid snaps items to big increments. That is fast for walls and floors but clumsy for a lamp on a nightstand. A small grid lets you nudge items by tiny amounts.
- Use the largest grid for walls, floors and big furniture
- Switch to the smallest grid for decor: plants, books, frames, mugs
- If an item will not sit flush against a wall, the grid is almost always the cause
Rotation and Angles
Furniture pushed flat against every wall looks like a showroom. Rotating a few pieces breaks that up.
- Angle a chair slightly toward the sofa to create a conversation area
- Pull a bed or desk a few steps off the wall
- Keep rotations in clean increments such as 45 or 90 degrees unless you are going for a messy, lived-in look
Grouping and Layering
Real rooms have layers: large furniture first, medium pieces next, small details last. Build in that order.
- Place walls, floors and doors
- Place anchor furniture: sofa, bed, table, counters
- Add medium pieces: shelves, side tables, rugs
- Finish with small items: plants, lamps, frames, books
Cluster small items in groups of three. Three plants on one shelf look more natural than one plant in each corner.
Inventory and Undo
Before you start rearranging, find out what happens to deleted items. In most editors, removed furniture goes back to your inventory instead of vanishing. Confirm that in your game so you can experiment without worrying about losing anything.
Step 3: Pick One Style and Stay With It
Switching styles halfway through is the most common reason a Roblox house looks messy. A homehearted roblox spruce up virtual home project works best when you choose one main style for the whole house and put your variety into accent items. Use the table below as a starting point.
| Style | Base colors | Accent color | Materials and items | Avoid |
|---|---|---|---|---|
| Modern minimal | #F5F5F5 white, #BFC5CC light gray | #1F2933 charcoal | Clean-lined sofa, one large plant, simple lamps | Busy patterns, many small ornaments |
| Cozy cottage | #F3E9DC cream, #C9A97C warm wood | #7A9E7E sage green | Wood floors, rugs, curtains, many plants | Cold metals, harsh white lighting |
| Soft pastel | #FDE8EF blush, #DDEBFA baby blue | #FFF3B0 butter yellow | Round furniture, string lights, cushions | Dark colors, heavy furniture |
| Dark and moody | #2B2D42 navy, #4A4E69 slate | #C9A227 brass | Dim lamps, bookshelves, rich rugs | Bright overhead lights |
| Rustic cabin | #8B5E3C brown, #D9C7A3 tan | #A63D2F brick red | Stone, log-style walls, fireplace | Glossy modern pieces |
The 60-30-10 Rule
Use it for every room:
- 60 percent of the space in your base color (walls, floors, large furniture)
- 30 percent in a secondary color (rugs, curtains, second furniture group)
- 10 percent in your accent color (cushions, frames, small decor)
If a room feels off but you cannot say why, count how many colors it has. Most of the time it has too many.
Room-by-Room Layout Rules
A homehearted roblox spruce up virtual home guide is only useful if it tells you what to put where. These layouts work in most games.
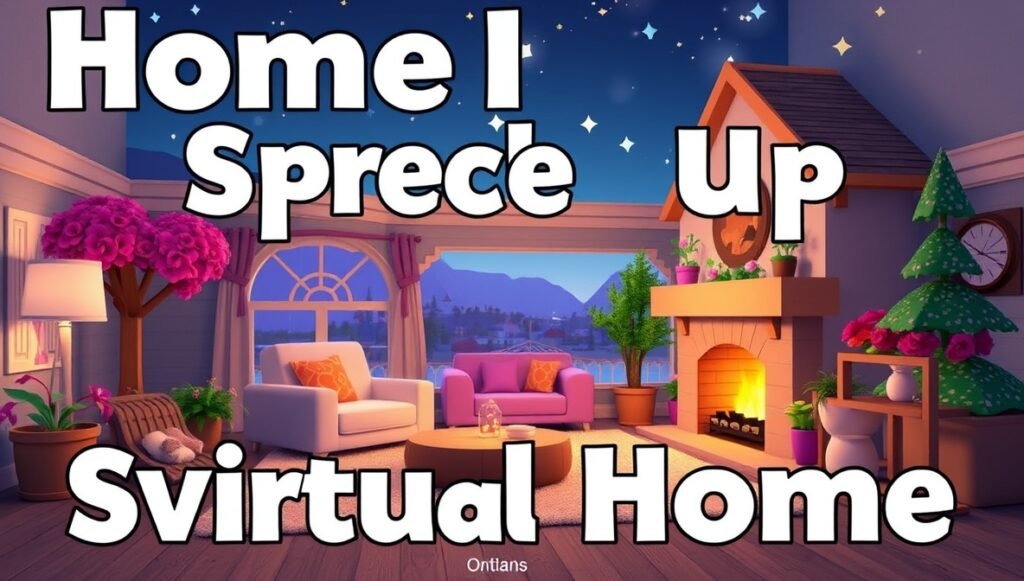
Living Room
The living room is where visitors spend most of their time, so it should be easy to walk through and good to look at.
- Place the sofa facing the focal point: a TV, fireplace or window
- Add a rug large enough that the front legs of the sofa and chairs sit on it
- Leave a clear walking path of at least two avatar widths
- Put a lamp or plant at each end of the sofa
- Add one wall piece such as a framed image or shelf above the sofa
Kitchen
Kitchens look believable when they follow the work triangle: sink, stove and fridge placed close enough to feel connected.
- Keep counters continuous, with no gaps between cabinets
- Put the fridge at the end of a counter run, not in the middle
- Group small items into one “station”: coffee maker, mugs, a sugar bowl
- Add a table or island only if you can leave a walkway around it
Bedroom
- Center the bed on the main wall and add a nightstand on each side
- Put a rug under the lower two-thirds of the bed
- Place the wardrobe or dresser on a side wall, not at the foot of the bed
- Add a soft lamp and one plant, and stop there
Bathroom
- Keep it small and tidy: toilet, sink, shower or tub
- Use a cooler color than the rest of the house, such as pale blue or mint
- Add one rug, one plant or one wall frame, not all three
- Skip large chandeliers and statement furniture, which look out of place in small rooms
Outdoor Space, Basement and Extra Rooms
- Treat outdoor areas like a room: define a floor surface, a seating group and a light source
- Use paths to guide visitors from the front door to the main living area
- A basement or spare room works best with a single purpose: cinema, game room or hangout space
- Pick a purpose first, then buy the furniture for it
Lighting and Atmosphere
Lighting changes the mood of a room faster than any piece of furniture does. Check your game’s settings for these options:
- Time of day: Many games let you change it. Warm, low-angle sunset light flatters white and cream walls. Midday light is flat but shows true colors.
- Layered light sources: Use ceiling lights for general light, then add table lamps, floor lamps and candles for warmth.
- Light color: Warm tones suit living rooms and bedrooms. Cooler tones suit kitchens and bathrooms.
- Dark corners: Add one small light to any corner that looks dead on a screenshot.
Test your house at two different times of day before you call a room finished. A room that looks perfect at noon can look dull at night.
Decorate on a Budget
You do not need to spend Robux on everything, and many of the best-looking builds use few paid items. Here is a spending order that avoids waste:
- Use free tools first. Walls, floors, paint and basic furniture usually cost nothing or very little in-game currency.
- Spend on one statement piece per room. A good sofa or bed does more than ten cheap extras.
- Reuse items creatively. Wall pieces can become benches or headboards, and kitchen cabinets can become a media unit.
- Compare before buying. Look at similar items from other creators or sections before paying for the first one you see.
- Delay gamepasses. Buy a gamepass only after you hit a specific limit, such as running out of floor space.
A useful rule is to decide your budget before you open the store tab. Write the number down, and stop when you reach it.
Common Mistakes and How to Fix Them
| Mistake | What it looks like | Fix |
|---|---|---|
| Too many colors | Rooms feel noisy and unfinished | Apply the 60-30-10 rule |
| Furniture against every wall | Rooms feel empty in the middle | Pull key pieces into the room and build a seating group |
| Mixed styles | Modern sofa in a rustic cabin | Choose one style per house and let accents do the mixing |
| Scale problems | Tiny table next to a giant sofa | Compare items side by side before placing |
| Blocked walkways | Avatars get stuck on furniture | Keep paths at least two avatar widths wide |
| Overstuffed shelves | Every surface full | Leave a third of each shelf empty |
| Ignoring lighting | Screenshots look flat or dark | Add lamps and test two times of day |
Share Your Build and Host Visitors
A finished house is worth more when people see it. Prepare it like a real photo shoot.
Taking Better Screenshots
- Set the time of day before you shoot
- Hide interface elements if your game lets you
- Shoot each room from a corner, not from the middle, so the whole layout is visible
- Take one wide shot and two close-ups per room
- Clean up first: remove stray items and check for objects floating in the air
Setting Visitor Permissions
Before you invite anyone, check your permission settings. Most home games let you control who can enter and whether visitors can move your furniture. For public events, allow entry but block editing. For close friends who help you decorate, allow both.
Easy Events to Host
- A decorating challenge where everyone builds one room from the same item list
- A scavenger hunt with small items hidden in your decor
- A movie night in a room built for it
Safety Notes for Parents and Teens
Roblox is used by a wide range of ages, and home-building games are social by nature. A few habits keep the experience safer.
- Check account settings. Roblox offers parental controls, including account restrictions and chat settings. Review them together with your child.
- Use permission settings. Limit who can enter a house, especially for younger players.
- Be careful with the word “condo.” In Roblox, “condo games” is a term associated with unmoderated social spaces that can include inappropriate content. If you see it in a search, treat it with caution and stick to well-known, moderated home-building games.
- Never share personal details such as your real name, address or school in chat or on house signs.
- Report problems. Use Roblox’s in-game report tools if you see behavior that breaks the rules.
For the latest settings and what each one does, use Roblox’s own help center, since options change over time.
A Seven-Day Plan to Finish Your First House
A homehearted roblox spruce up virtual home project goes better with a schedule. Use this one if you are starting from scratch:
- Day 1: Pick the game, test the free tools, and set your budget.
- Day 2: Choose your style and write down your three colors.
- Day 3: Build the shell: walls, floors, doors and windows.
- Day 4: Place the anchor furniture in the living room and kitchen.
- Day 5: Furnish the bedroom and bathroom.
- Day 6: Add lighting, rugs and small decor in every room.
- Day 7: Test it at different times of day, fix walkways, take screenshots and invite one friend for feedback.
Final Thoughts
The best Roblox homes come from a handful of repeatable habits: one style, a limited palette, a clear layout, layered lighting and a budget you stick to. Fancy items matter much less. If you treat a homehearted roblox spruce up virtual home project as a series of small, ordered decisions instead of one huge creative leap, you will finish faster and end up with a house that looks planned. Start with one room, apply the rules above, and compare your screenshots before and after.
Frequently Asked Questions
Is Homehearted an official Roblox game or feature?
No. It is the name of a lifestyle blog, and the phrase has no connection to any built-in Roblox feature.
Do I need Robux to decorate a Roblox house?
Not always. Most games offer free walls, floors and basic furniture, and Robux mainly buys extra features or special items.
What is the best color palette for a beginner?
Use two neutral colors plus one accent, following the 60-30-10 rule. Cream, warm wood and sage green is an easy combination.
How do I make a small plot look bigger?
Use light colors, keep furniture low, and leave open floor space. Avoid filling every wall with large pieces.
Can I decorate a Roblox home on mobile?
That depends on the game. Check the game page and player reviews, since fine placement is usually easier on a computer.
How long does it take to decorate a full house?
A basic house can take a few hours. A polished build usually takes about a week of short sessions.
Is it safe for kids to visit other players’ houses?
It can be, with the right settings. Use Roblox parental controls and visitor permissions, and avoid games known for unmoderated social spaces.
What should I do if my furniture will not place correctly?
Lower the grid size, check for overlapping objects, and rotate the item slightly. Most placement problems come from the grid setting.
How do I get ideas without copying someone’s house?
Collect screenshots of real rooms and other builds, then copy the color and layout principles instead of the exact arrangement.
What is the fastest way to improve an ugly room?
Reduce it to three colors, clear the walkways and add one lamp. These three changes fix most rooms.
A note on this draft: it contains no first-person claims or screenshots, since I haven’t built these rooms myself. Before publishing, add your own screenshots and confirm the game-specific details, such as gamepass names, prices, and which features your chosen game includes.